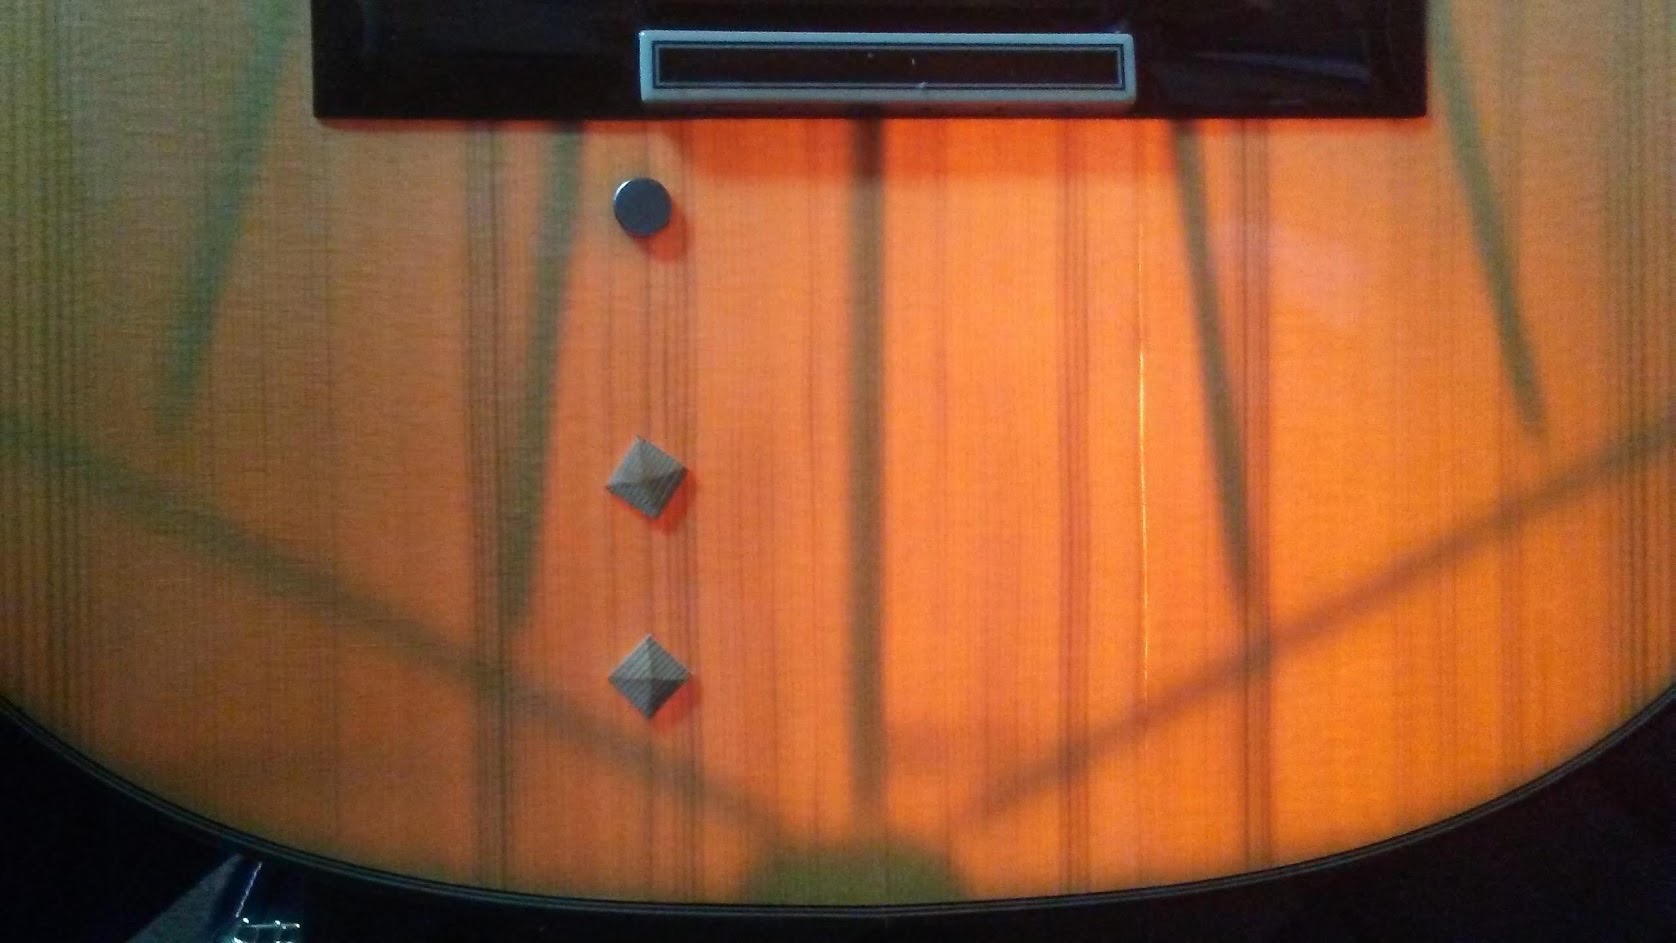
Both pictures are of the same guitar, two different cracks in the same top. Both have been glued up. The repair in the picture on the right was done before the guitar ever made it to our bench. The photo on the left shows the repair job that was done in our shop. Yes, there is a crack in that picture,
it runs with the grain from the corner of the tie-block. When it came to us it was about as wide as and visible as the one in the first image. Daylight could be seen from the inside of the guitar with a mirror.
So why such a dramatic difference in the results?
There are a couple of reasons. We put a humidifier inside the guitar and set it aside in its for a couple of days before addressing the crack, this closed it right up. Often it will. The wood expands as it accepts moisture, closing the fracture. And then we clamped the top in place after working glue into the crack, keeping both sides of the crack level with a caul on both the inside and outside of the guitar. You can run your finger across the crack and you will hardly feel a thing. I was hard pressed to find an angle that would show the crack in a picture.
Clamp and caul system in place. This part is always a bit of a brain workout as every situation is different working around the braces on the inside.

Having a bright light and a thin top helps.
Cleats going into place, magnets work well for locating the cleat and as a clamp


